Problematics
Research Question
Existing solutions to the problem
Hypothesis
Contradiction
Target Audience
Product Mission
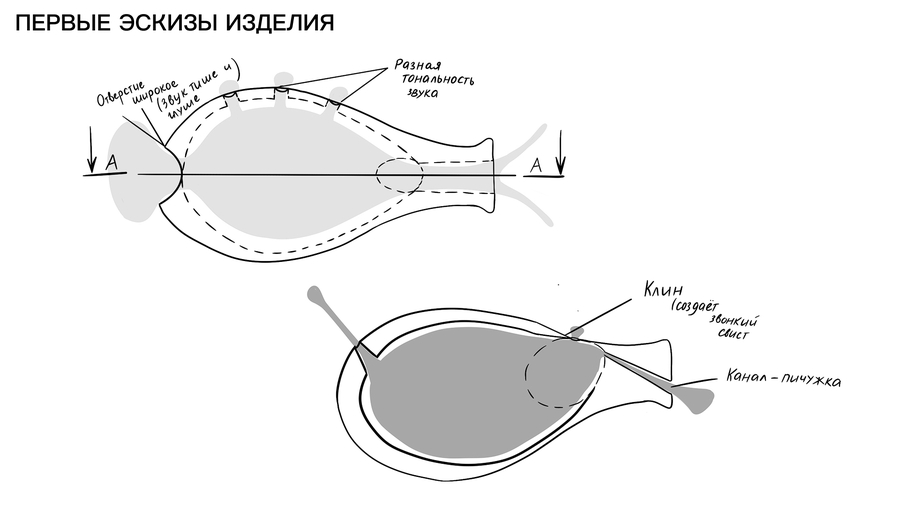
Product Sketch
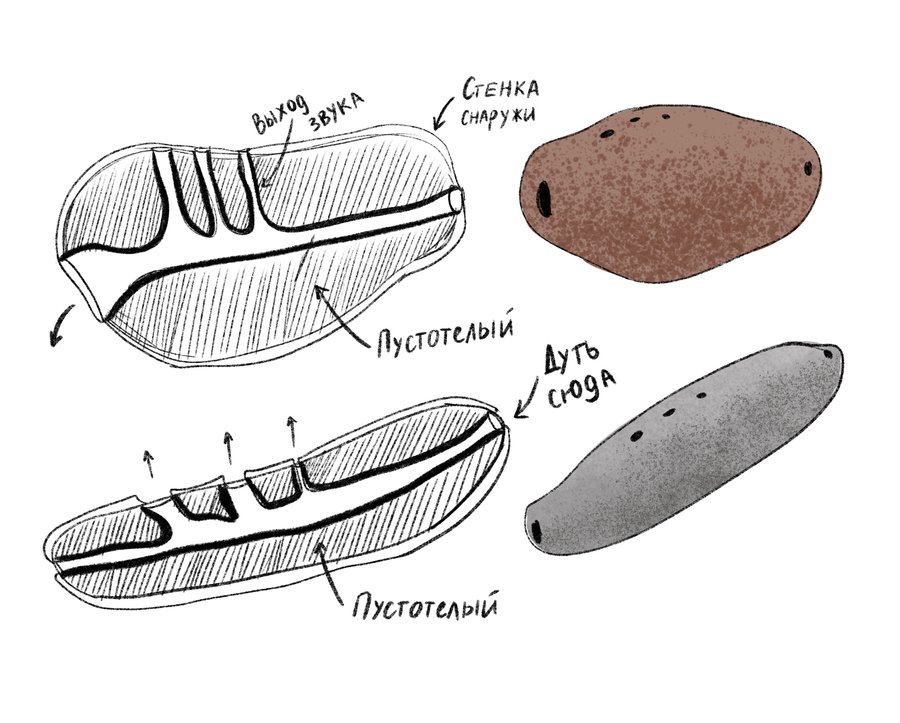
Product Schematics
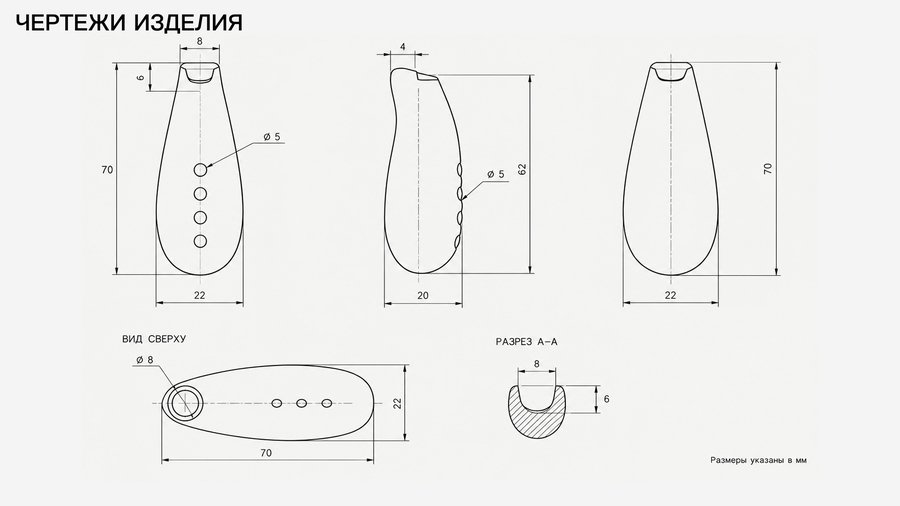
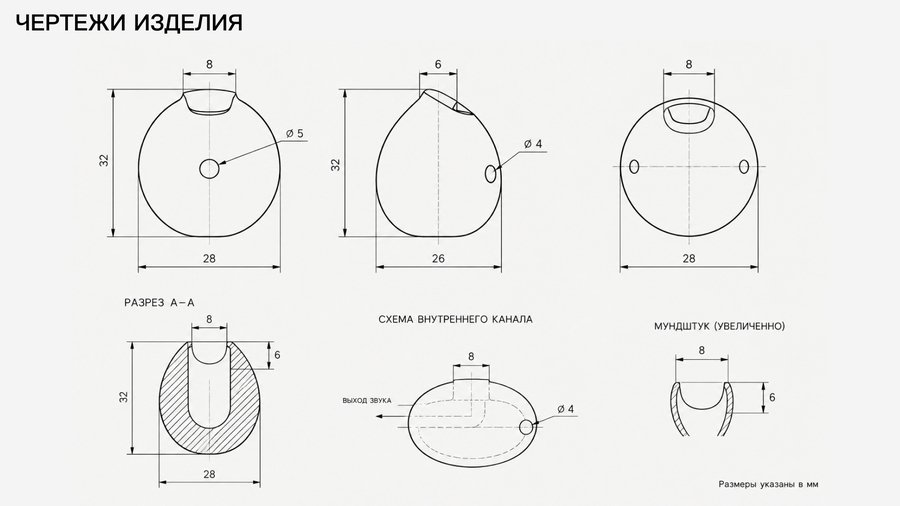
The Workflow
- Prepare the clay. Knead the «Verba» clay without grog until it is plastic and homogenous.2. Form the body. Roll the clay into sheets 5 mm thick, shape the details using a convex soft sponge, and join them to create a closed form with smooth walls and a flattened base.3. Create the air channel. Insert a pink stick or a foam insert into the upper part of the body that will maintain the air passage channel.4. Cut the sound slit. Make a longitudinal cut along the body, widen and deepen it, to form a slit for the air flow to pass through.5. Treat the body. Remove excess clay with loop tools and a scalpel, smooth or roughen the surface, and finish the edges of the piece.
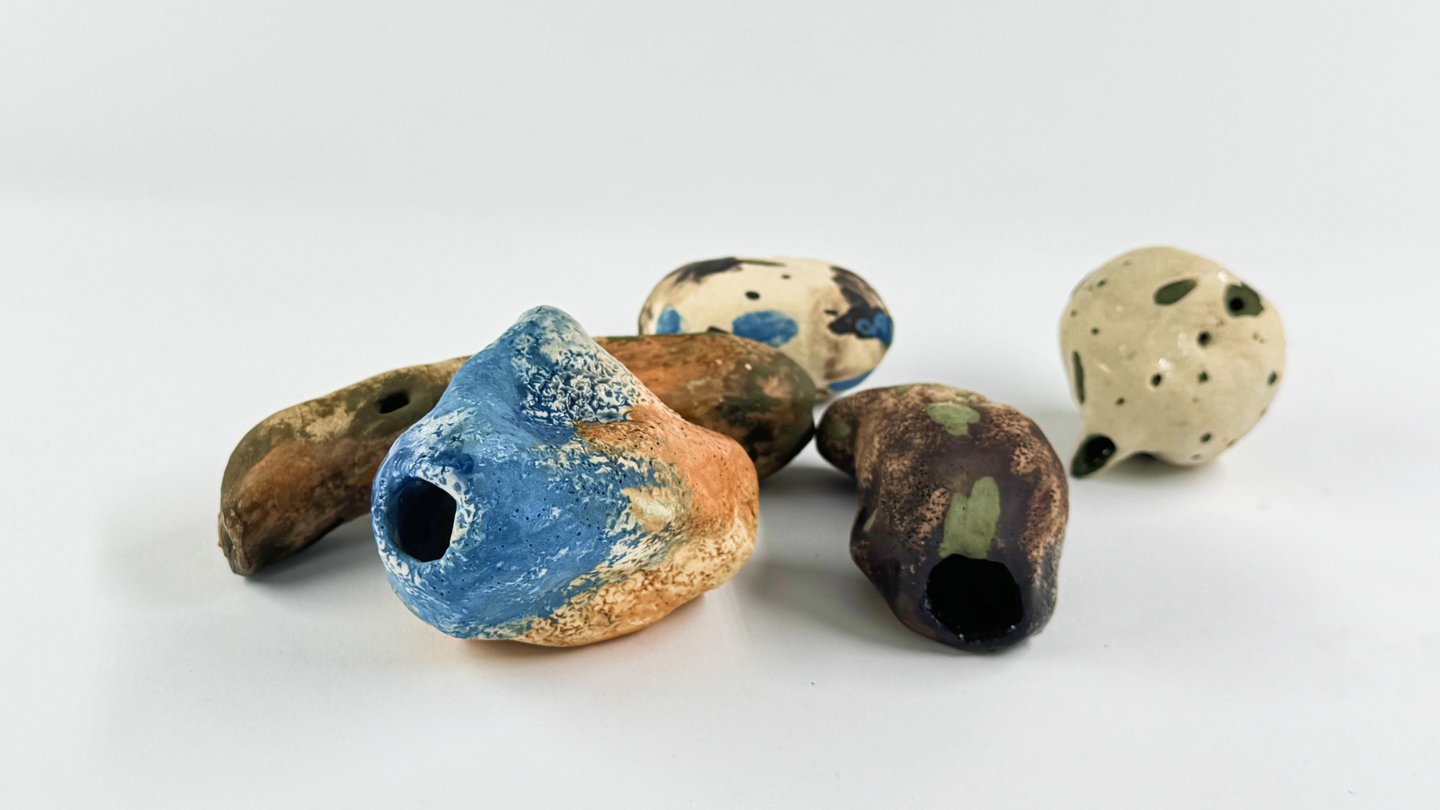
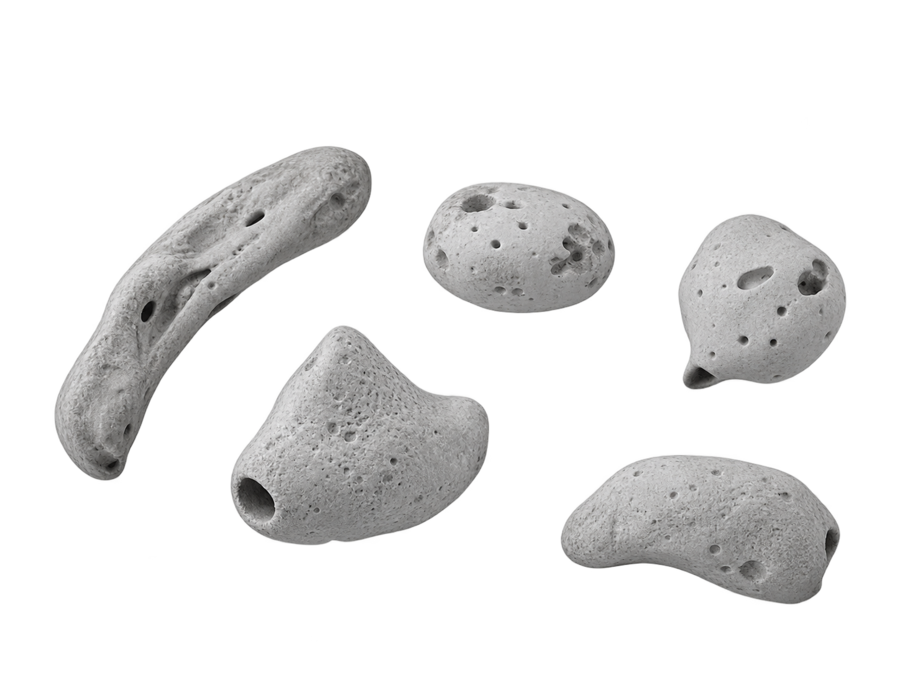
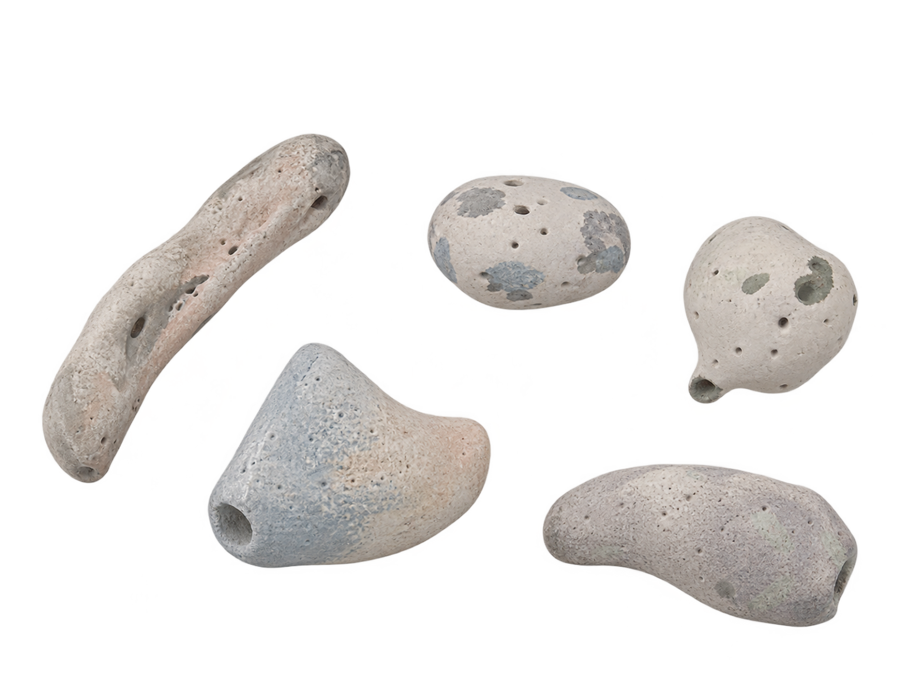
Form the playing holes. Make four small circular holes in the body, arranged along an arc.These will allow you to change the pitch.
Join the parts. If the body is made of two pieces, join them with clay slip and thoroughly smooth the joint. Be sure to preserve the internal air channels.8. Check the structure. Ensure that the air channel and the holes are formed correctly, and that the body maintains its shape. Test the sound of the piece before drying.9. Dry the piece. Allow the template to dry completely to avoid deformation during firing.10. Conduct the first firing. Fire the dried piece in the kiln at a temperature of 1000°C.11. Apply the decorative coating. Paint the surface with engobes using a brush or sponge. If necessary, use blue, brown, yellow, and green colors.12. Apply the glaze. Apply a transparent glaze to protect the surface and give it a shine.
Conduct the second firing. Fire the piece at a temperature of 1200°C to set the coating.14. Inspect the finished piece. Examine the body, ensure the holes and air channel are intact, and test the sound.
Midterm Project Outcome
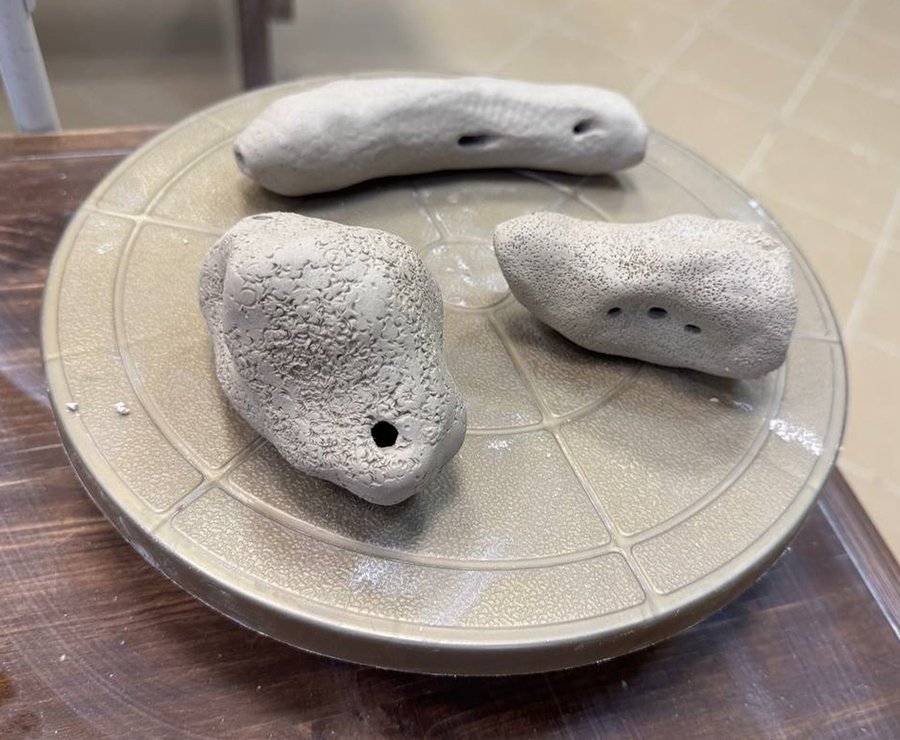
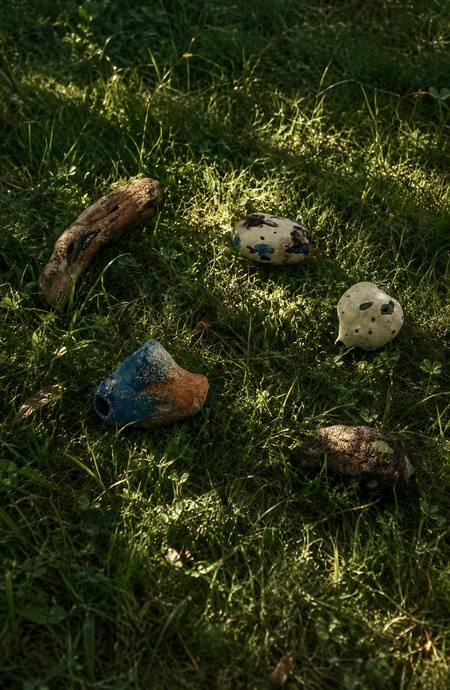
The photo shows three test blanks for the future product that have completed the drying stage and are ready for firing:
The top blank is an elongated shape with two large holes on the sides. The surface is covered with a fine texture (marks from a tool or mold impression). It resembles a stretched whistle or pendant.
The left blank is round and massive, featuring a pronounced grainy texture and one large hole at the bottom. Its shape is reminiscent of a acorn or a drop.
The right blank is compact, with a smooth surface and a row of small holes (three to four) in the center. This is a preparation piece with finger holes—a future whistle.